If you are switching from WordPress to Blogger or new to Blogger this post will help you to generate sitemap and add it to Google Search Console.

Google Blogger have sitemap.xml by default. To view the default sitemap.xml append /sitemap.xml to your blogspot domain URL.
Default Sitemap xml
The default sitemap.xml will look like the one in the following picture,
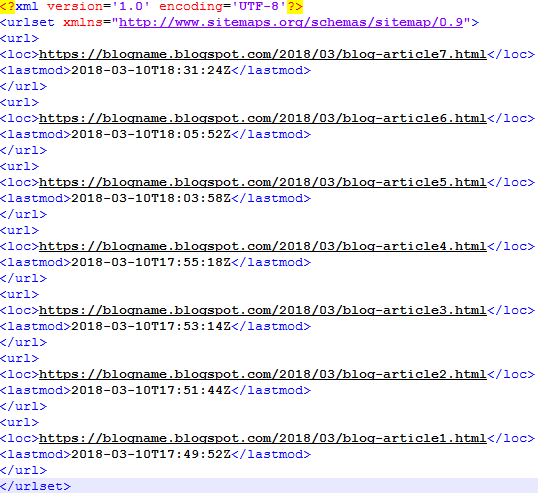
The sitemap.xml will have set of URLs. Each URL location have last modified date.
Alternative Way
There is another way to generate sitemap for Blogger.
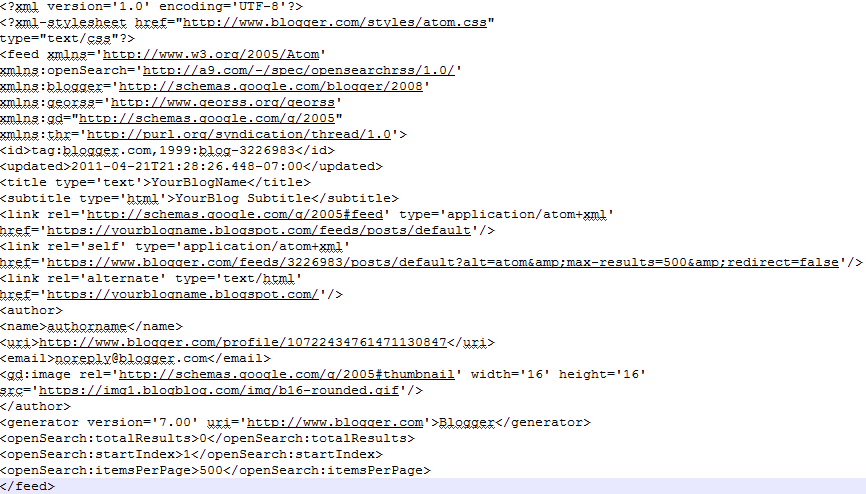
Alternative way is to append /atom.xml?redirect=false&start-index=1&max-results=500 to your blog url. The ctrlq website helps to achieve the same result. If you have more than 500 posts edit the max-results parameter.
The new blog sitemap will look like the following one in the picture,
The new sitemap should be updated in robots.txt.
Ctrlq site creates a alternative sitemap XML and updated robots text content for your blogger blog.
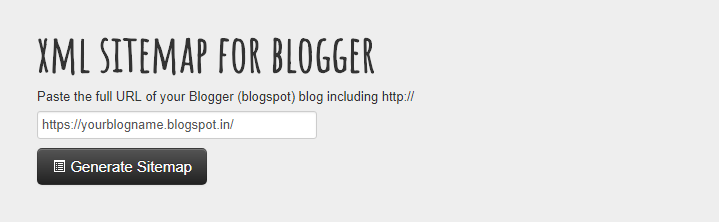
Input your blogspot blog name URL or custom domain URL in XML Sitemap for Blogger text box and click Generate Sitemap button.
This will generate robots.txt which points to new sitemap XML URL.

Google Search Console
Go to Google Search Console and add submit your sitemap. First you need to Add and Verify your Blogger Website in Google Search Console. Navigate to Crawl -> Sitemap section and click Add and submit Sitemap. If you have already submitted a sitemap URL remove it and resubmit the new sitemap XML file.
Robots.txt file
Copy the above robots text file content generated by ctrlq website and replace your blog robots.txt content.
Sitemap xml, submitting sitemap to Google search console and robots.txt all are necessary to google bot to crawl your site pages and posts.