We can pass data from parent to child in Angular in Five simple steps.
Steps:
- Create Parent Component
- Create Child Component
- Use @Input Decorator in Child Component
- From Parent call the Child Component selector as an HTML element in the Parent template
- Pass the value in the Child Component HTML element.
@Input Decorator is used to pass the data from parent component to child component. Passing data is done using the property.
Sometimes when a file is too large, it is needed to split a file into several components. If a file is split into several components, a component will be a parent and another one will be a child. The parent component will be used to pass the data to the child component and child components will have the data processing logic.
The parent component won't be having the data processing logic. We have to move all the data processing logic to child components.
Suppose a service call is made in the parent component, the service response returns a list. We should not process the list in the parent component. Just pass the list to the child component. The child component must do the list iteration logic and display the value in view.
Here in this example, In the Parent component, we are asking the user to select all his hobbies. We are getting all the user hobbies and setting the value to an Array.
Get the user input and push it into an Array. Pass the array to a child component and using ngFor structural directive iterate the Array.
Use the below command to generate a new project,
ng new component-interaction
Parent Component
import { Component } from '@angular/core';
@Component({
  selector: 'app-root',
  templateUrl: './app.component.html',
  styleUrls: ['./app.component.css']
})
export class AppComponent {
  title = 'Component-Interaction';
  hobbies: {hobby: string}[] = [];
  hobby: string = null;
  addHobbies(){
    this.hobbies.push({hobby: 'Cricket'});
    this.hobbies.push({hobby: 'Chess'});
	this.hobbies.push({hobby: 'Football'});
  }
}
Parent Component HTML
<div style="width:500px; height: auto; border: solid 2px #66CDAA; padding:20px; ">
    <h2>App Component => Parent Component</h2>
    <app-hobbieslist
      [hobbies]="hobbies"></app-hobbieslist><br>
      <button (click)="addHobbies()">Display</button>
</div>
Now we are going to generate child component using the following command,
ng generate component hobbieslist
Child Component
import { Component, OnInit , Input} from '@angular/core';
@Component({
  selector: 'app-hobbieslist',
  templateUrl: './hobbieslist.component.html',
  styleUrls: ['./hobbieslist.component.css']
})
export class HobbieslistComponent implements OnInit {
  constructor() { }
  @Input() hobbies: [];
  ngOnInit() {
	console.log('hobbies: ' + this.hobbies.length);
  }
}
In the child component import the Input. Input decorator is needed here to expose its properties to the parent component.
Child Component HTML
<div style="border: solid 2px #66CDAA; height: auto;">
    <h2>Child Component</h2>
    <span>Hobbies:</span>
    <br>
    <div *ngFor="let hobby of hobbies">
        {{ hobby.hobby }} <br>
    </div>
</div>
To Run the project,
ng serve -o
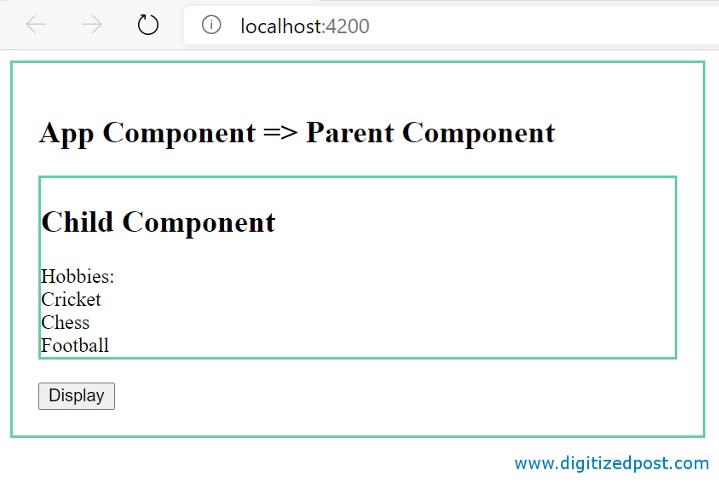
On running the project, it will display the values in the child component as shown in the above picture.